Let's create a simple lower third graphic from scratch.
Step 1: Create a new graphic

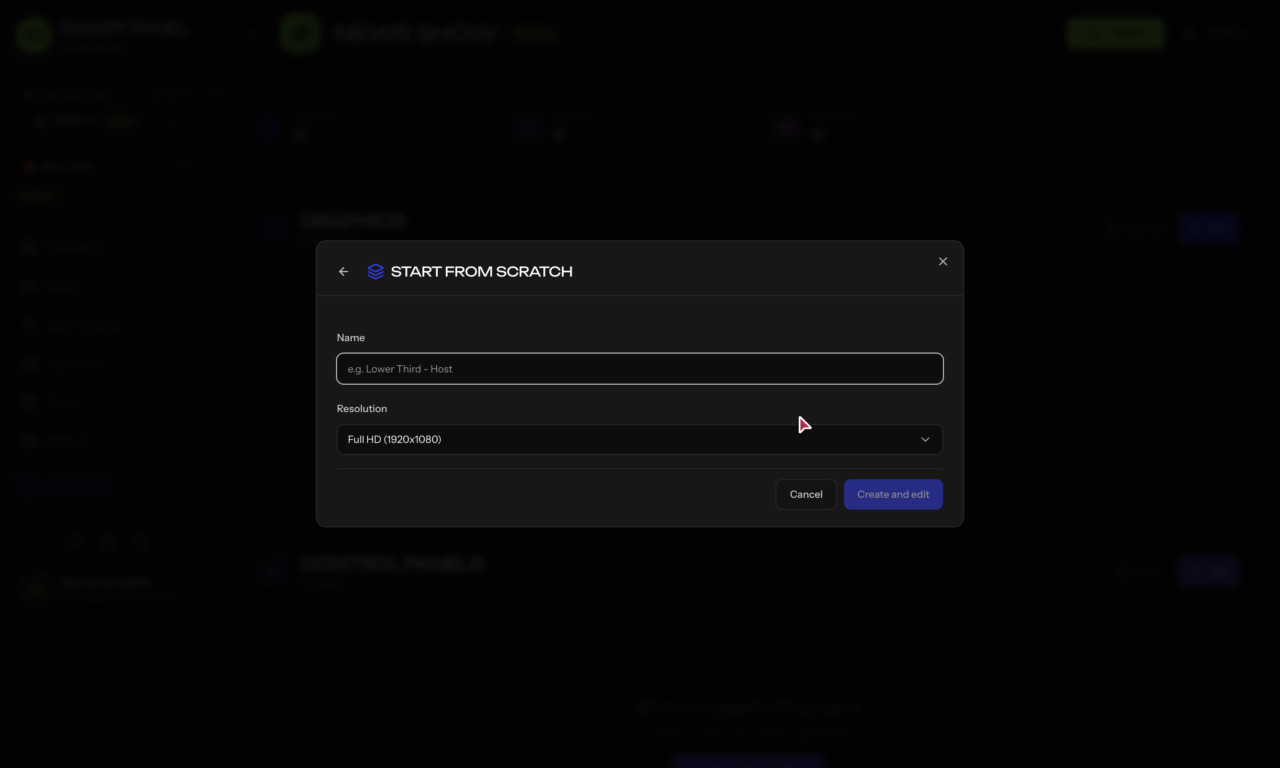
- Go to Graphics in the sidebar
- Click New Graphic
- Choose Start from Scratch (or Pick from Library to begin from a template package)
- Name it (e.g., "My First Lower Third"), pick a resolution, and click Create and edit — the editor opens
Step 2: Add a subcomposition
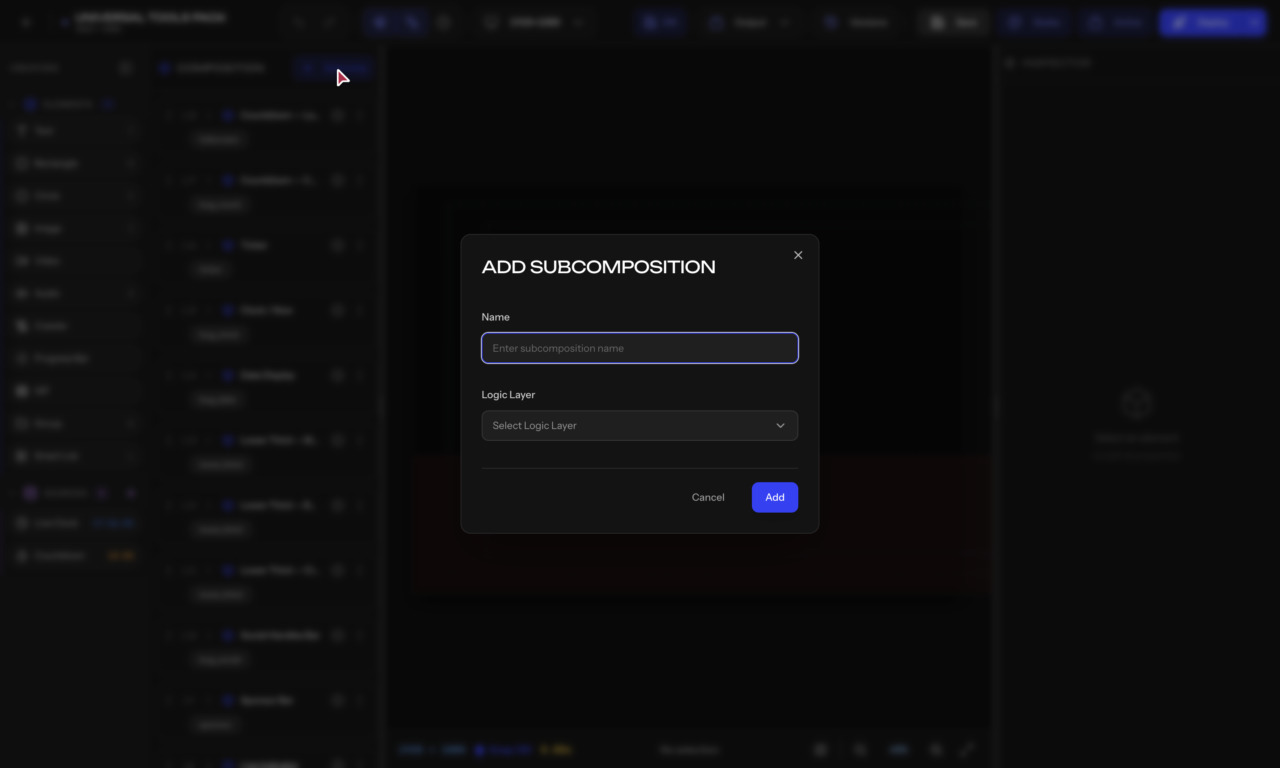
- In the Composition panel, click + Subcomp
- Name it "Lower Third"
- Set the Logic Layer (e.g. Lower Third — other options: Bugs, Full Screen, Tickers, Score Bugs, Custom) and click Add
Step 3: Add elements
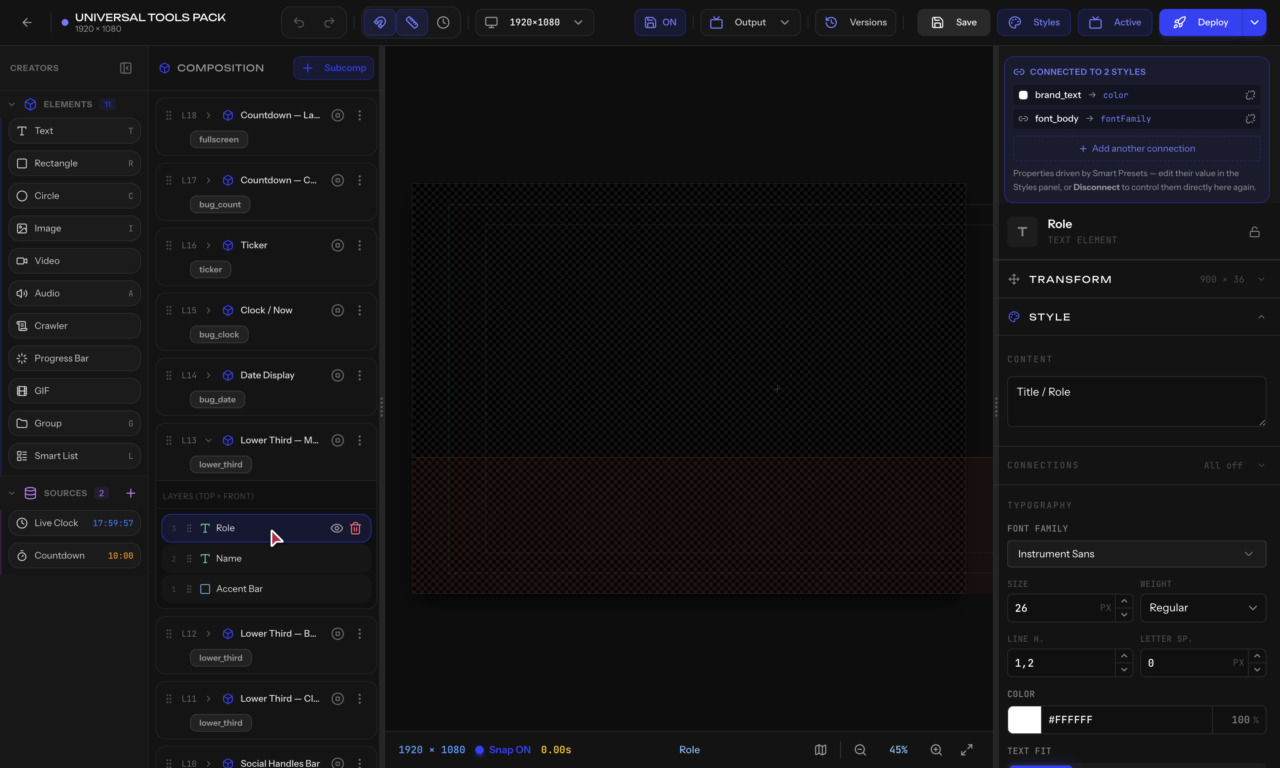
- From the Elements panel (left side, under Creators), drag a Rectangle onto the canvas
- Position it at the bottom of the screen (this is your background bar)
- In the Inspector (right side), set the fill color
- Drag a Text element and place it on top of the rectangle
- Type a name, e.g., "John Smith"